Beta New: draw your sign over a photo, no Illustrator Try it
Building the sign…
3D printed neon signs

From a photo to a neon sign

OPEN drawing as a single-stroke SVG, one open path with no fill
Your drawing, your photo or your logo
The same OPEN sign, head on and lit
Your sign, ready to print

Upload a photo of your sketch, trace it with the mouse and out comes the file ready for your 3D printer, with the channel sized to your neon hose. No Illustrator, no CorelDRAW, no 3D modelling.

Trying it is free and asks for no account

Already have your drawing in vectors? Go straight to the generator

Drag the sign to turn it

Printed and lit

This is what comes out of the generator

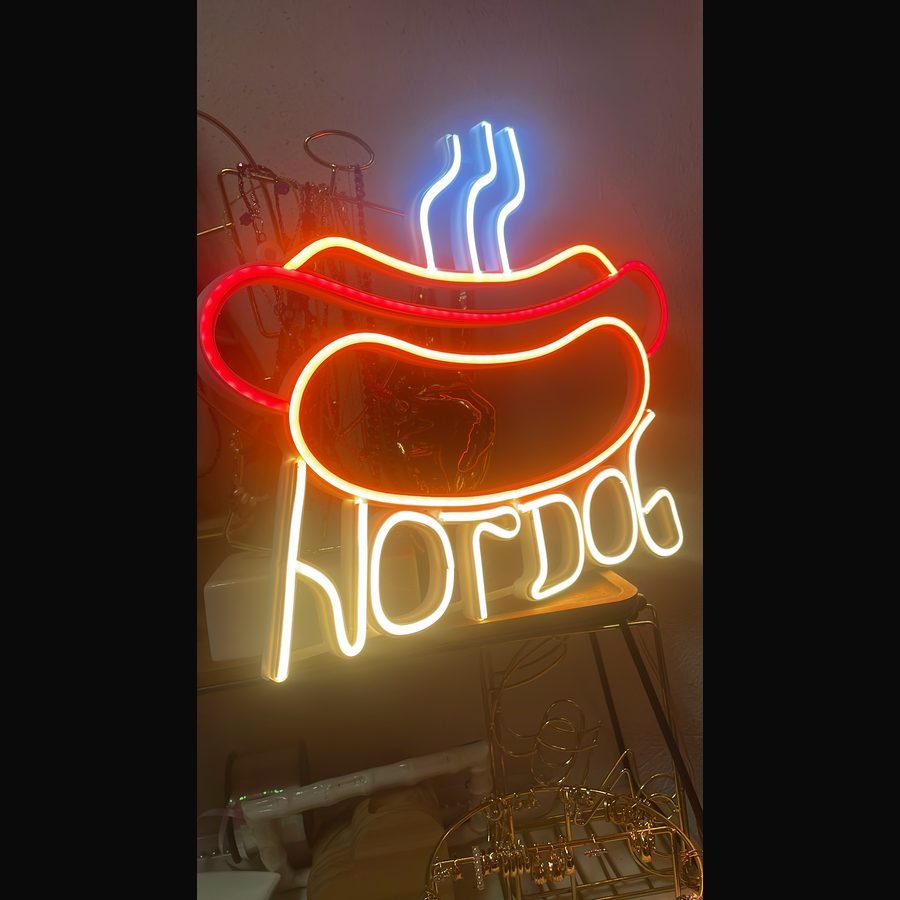
No renders, no mock-ups. Signs that came out of an ordinary printer, with strip neonflex, hanging in a real shop.

Handwritten neonflex sign reading Coffee, lit in amber
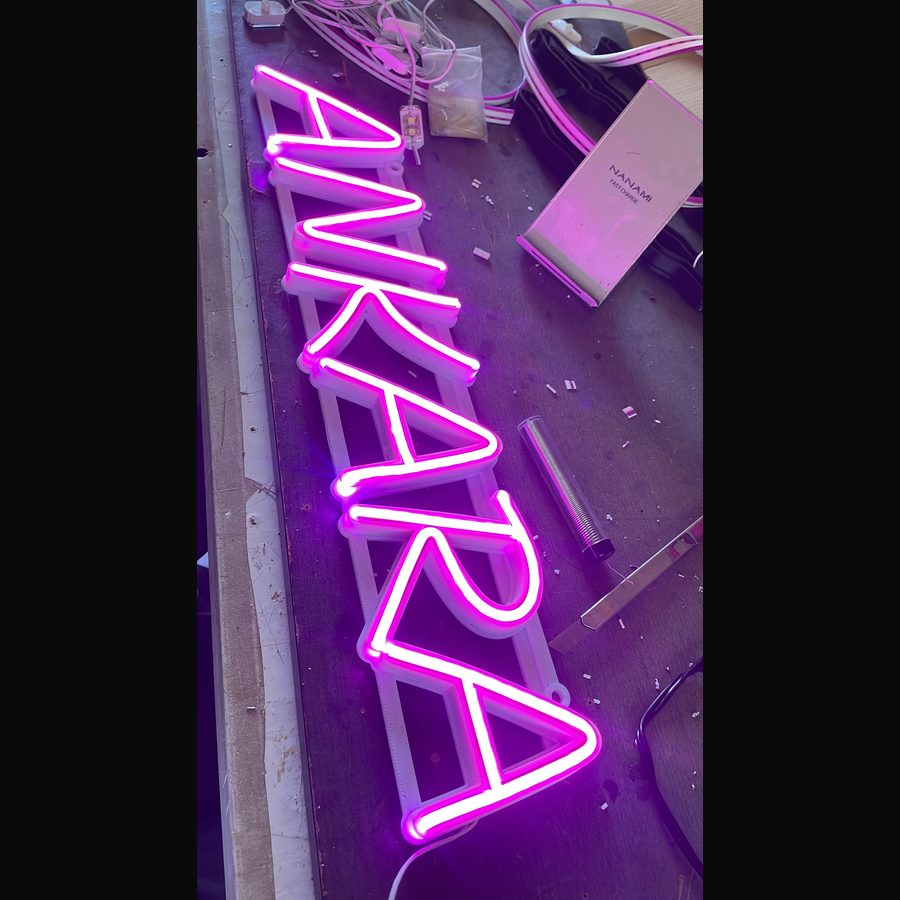
ANKARA sign in capitals, lit in pink and purple
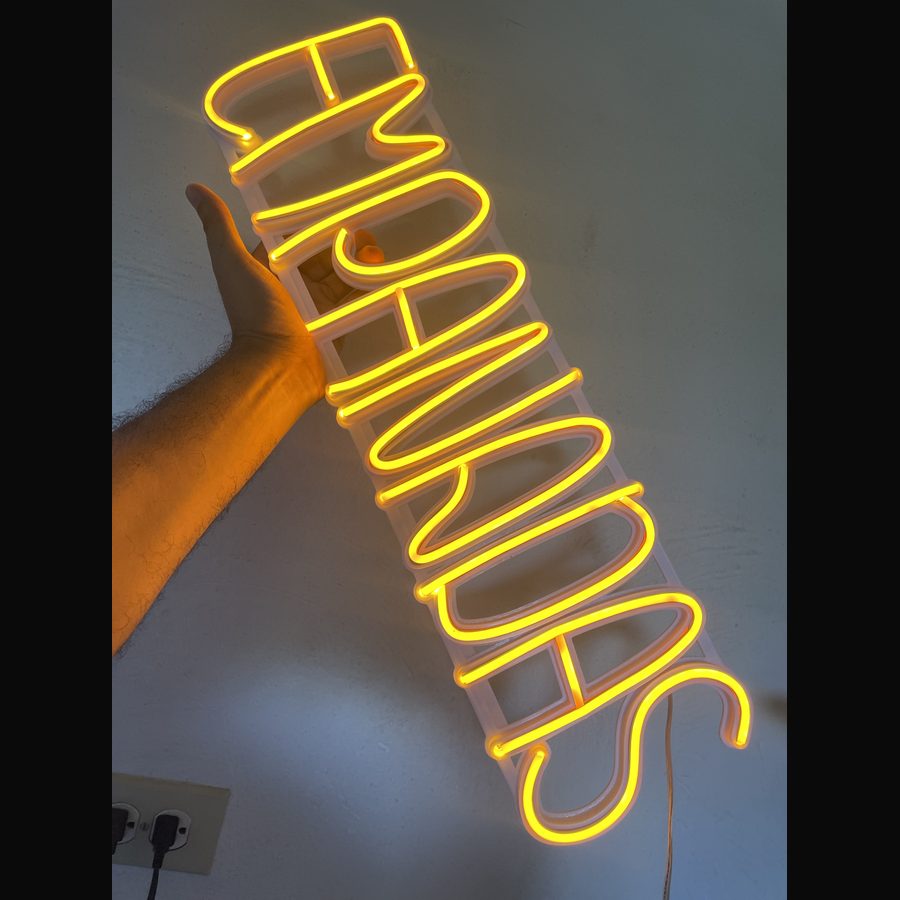
Sign reading EMPANADAS, lit in yellow inside a shop
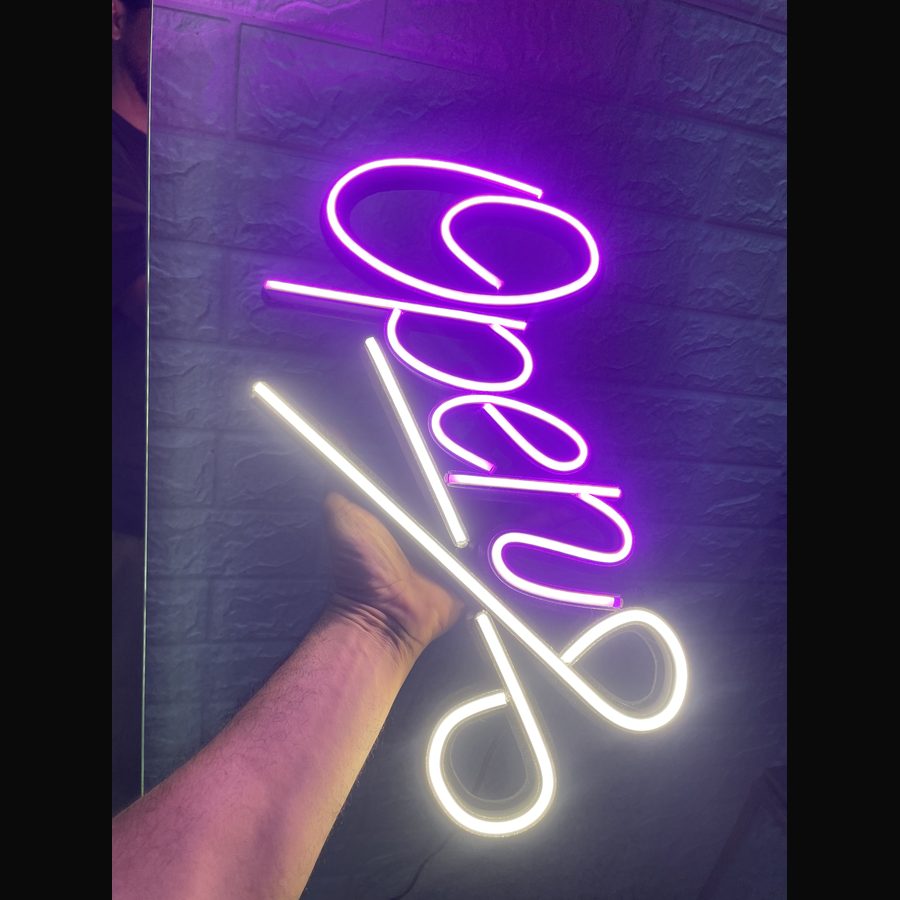
Handwritten Open sign held in one hand, to show the size
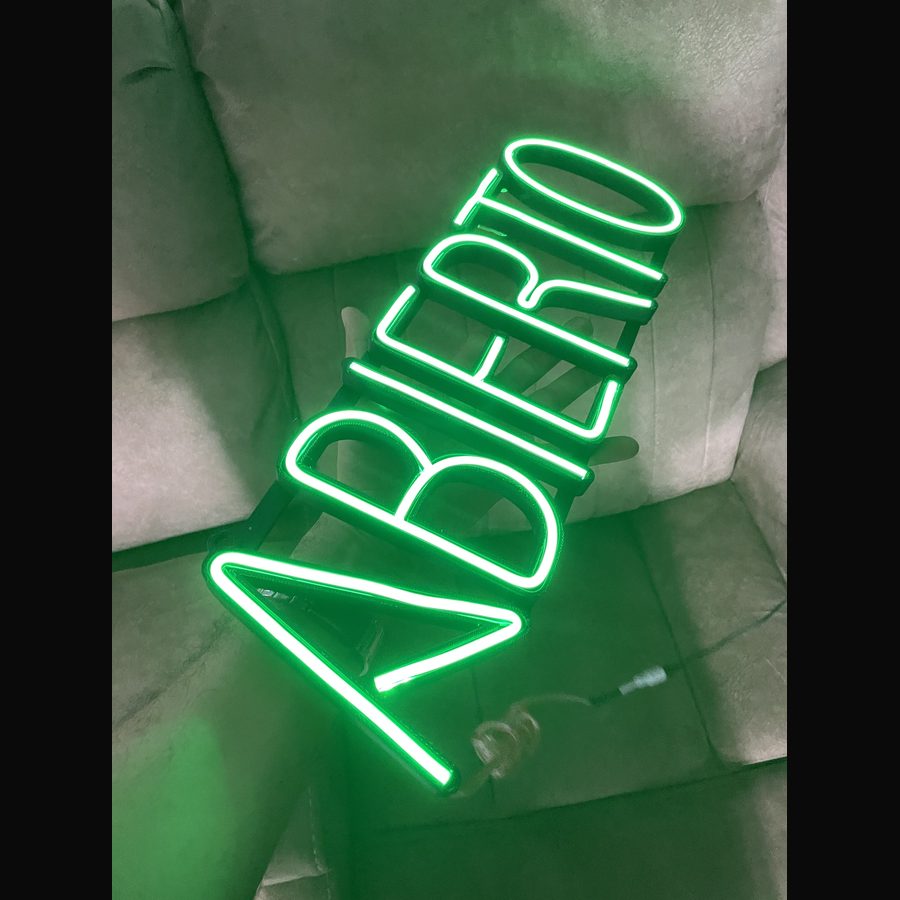
ABIERTO sign lit in green
Hot dog shop sign, lit in red and blue
The two systems

It works with the neon flex you already bought

Both of the ones that exist, each with its channel worked out properly. You don't have to pick a supplier based on what the software can handle.

generation

Solid silicone in a channel

6,2 10

The tube everyone knows: a solid piece of silicone that presses in and stays put. The channel is worked out from the exact measurements of your strip, and you can close it with a diffuser cap or leave it open.

channel 6.2 × 10 mm · wall 1.5 · takes a cap

generation

Groove, strip and separate silicone

8,0 6,5

The S-type strip lies flat on the bottom and the silicone goes on top, acting as wall and diffuser at once. That is why the channel is wider and shallower: the wall only has to grip the foot of the silicone, and it carries a lip so it locks and cannot pop out.

channel 8 × 6.5 mm · wall 1.5 · lip 0.7

You switch systems with one click and the generator readjusts on its own. If you tuned something in the other one, you will find it exactly where you left it.

What the generator solves for you

  • Channel made to measure

    The cavity is worked out from the exact measurements of your strip, so it presses in and does not rattle.

  • Diffuser cap

    Internal, external or with walls. It is what spreads the light and kills the dotted look of the LEDs.

  • Hidden wiring

    Pass-throughs, tunnels and conduits on the inside: from one letter to the next without a cable in sight.

  • Split for your bed

    If it does not fit your printer, it splits itself where the joint will not show, and comes out already separated.

  • Mounts

    Hanging holes and screw tabs placed where the sign can take it, not where they get in the way.

  • Ties

    Joins the loose parts of a letter so it does not fall apart when you peel it off the bed.

  • LED strip guide

    Two rails in the bottom of the channel that centre the strip on their own, no fighting with the adhesive.

  • Bill of materials

    How many metres of silicone, how much strip and how many screws. To quote without guessing.

All of this comes out of the same file, in the same minute. Hover over each one to see what it does.

The numbers

A sign costs 40 and sells for 150

No glass workshop, no neon bending. It prints on an ordinary machine and a neonflex strip does the light.

$0

is what a medium sign costs: filament, neonflex, power supply and cable, plus your labour. The generator breaks it down with your own prices.

$0

is what that same finished sign sells for. That is where the printer that breaks and the roll that goes to waste come from.

0 things

are all you need to start: a 3D printer, a roll of filament, strip neonflex and a power supply. Nothing else.

How it works

Three steps and the file is in the slicer

  1. Step 01

    Upload your single-stroke SVG

    Your logo, a phrase, the name of a bar. What the engine needs is an open stroke, not a fill. We have a five minute video on doing it in CorelDRAW.

    Don't have a file like that? Start with the design library: they are ready to go and one is free.

  2. Step 02

    Adjust it and watch it turn

    Channel width to match the neon flex you bought, mounts, ties where it is going to break, and the split if it does not fit the bed. Every change shows up straight away.

  3. Step 03

    Download the STL

    Every part in one file, already separated for the slicer. Plus the list of how much neon flex to buy and where to cut it.

What it takes off your hands

The boring part of the sign, done

Each of these is half an hour of modelling and a likely mistake. Here it is a slider.

Channel sized to your strip

Tell it the width and height of the neon flex you bought and the channel comes out with the right clearance, the wall at a thickness that holds and the lip that locks the silicone. If it does not fit, it tells you before you print.

Channel accuracy

0.0 mm

The clearance that lets the neon flex press in without forcing it and without rattling.

Split for your printer

Pick your machine from a list of fifteen and it tells you if it fits. If not, you drag a plane and it comes out split.

Hidden wiring

Pass-throughs, tunnels between walls and conduits. It is what separates a 150 dollar sign from a 400 dollar one.

Diffuser cap

Internal, external or with walls. Plus the outline as an SVG if you would rather laser cut it in acrylic.

Mounts and ties, by dragging

Keyholes or tabs to hang it, and ties where the sign was going to snap. You place them on the 3D view with the mouse, not by typing coordinates.

Bill of materials before you print

How many metres of neon flex to buy, where to cut it and how many grams of filament it takes. Before you switch the printer on, not after.

Plans

One sign covers the month

Unlimited downloads on both, and the files you download are yours forever. Monthly with no lock-in, or pay for the year up front and get 28% saving.

Basic

For anyone who makes signs now and then and wants the file ready without wrestling with parameters.

$15/ month

USD · every month

28% less
$129/ year

USD · works out at 10.75 a month

  • Unlimited STL downloads
  • Channel matched to your neon flex
  • Split so it fits your bed
  • Mounts, ties and end caps
See the detail
The workshop one

Expert

Everything in Basic plus what separates a sign that works from a sign that sells.

$29/ month

USD · every month

28% less
$249/ year

USD · works out at 20.75 a month

  • Everything in the Basic plan
  • Diffuser cap and outline for laser
  • Full hidden wiring
  • Bill of materials and priority support
See the detail
Without subscribing

Only making a few?

Buy the designs one by one and that is it. They never expire: the design stays saved in your account and you can change it and download it again as many times as you like, today or two years from now. A design is only spent when you upload a different drawing. ..

They include the same as the Basic plan. The diffuser cap, the hidden cabling and the material list are still Expert only.

No account, no card

Try it with your own design

The 3D view is free, unlimited and asks for no sign-up. Upload your SVG, watch it turn and check that your handwritten lettering works before paying anything.

Open the generator