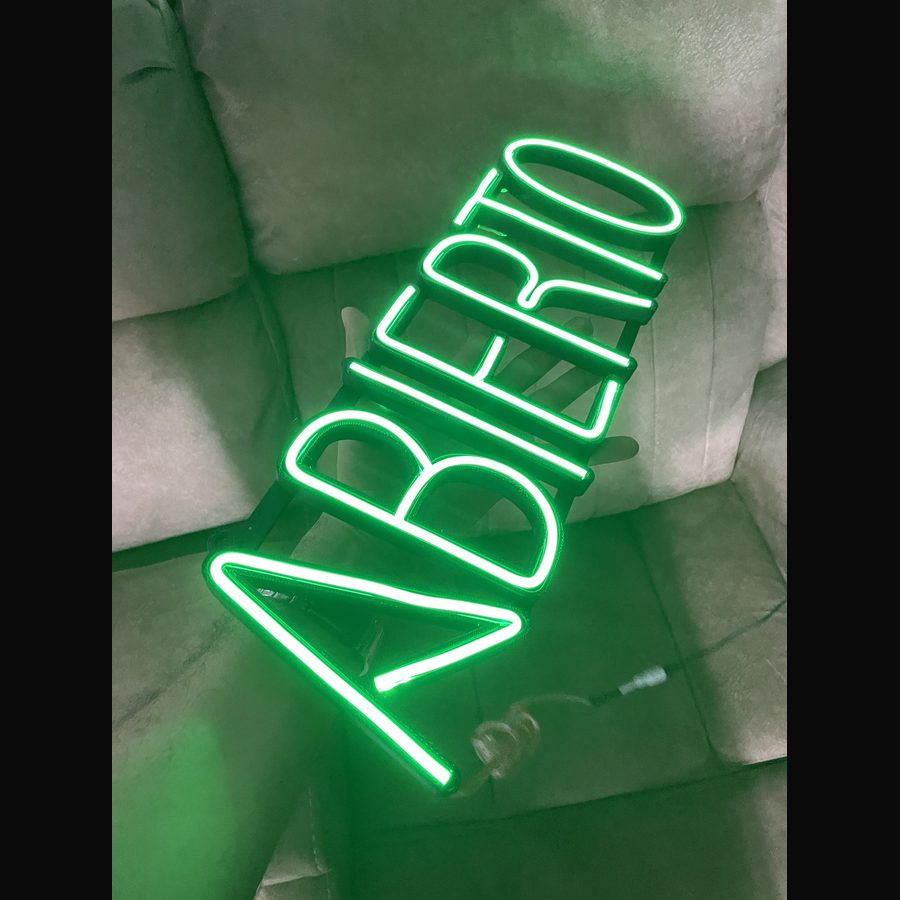
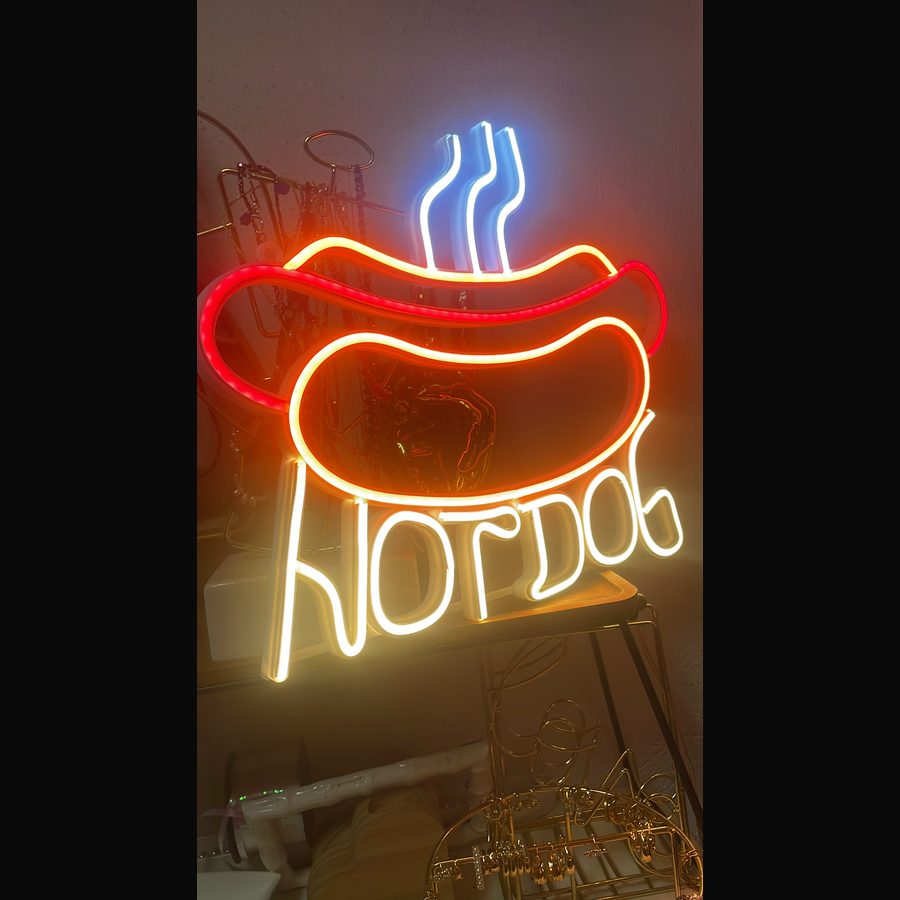
Neon 1st generation
How your sign comes together
Scroll slowly: every part drops into place. The generator works all of this out for you.
- The channel, made to measureThe walls fit the neon flex you already bought.
- Bridges between lettersThey join the letters so the sign comes out in one piece.
- Anchors with their screwKeyhole, round, countersunk or counterbored, plus a drilling template.
- Tunnels and cable holesThe cable runs inside the walls and comes out the back.
- The letter, with its wall and backTwelve finishes: notched, flush, printed face…
- The acrylic faceIts outline comes out ready for the laser.
- LED modules insideIt tells you how many fit and where they go.
- Wall standoffsScrew-on pins and studs, with their installation template.
- The 2nd generation channelLower: the silicone tube does the diffusing.
- The tube, made to measureThe exact width and height of the one you'll use.
- The back coverIt hides the cable and closes the sign at the back.
- The cable, wherever you wantRound, square or USB-C connector cable holes.
- The box ringRound, square or rectangular, single or double sided.
- The cover that closes itPress-fit trim, no visible screws.
- The printed faceIn translucent filament or acrylic.
- Your logo in color and the LED stripThe logo is inlaid in the face, ready to print.
Try it with your design